Taking a Blood Sample in Preparation for Dry Blood Analysis Postage Pack
NOTE: The 2 x slides and slide pack are marked with an orange sticker which represents FACING UP.
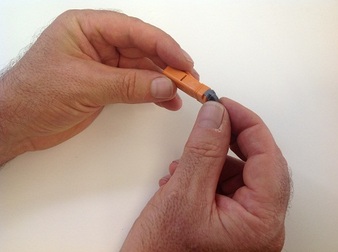
Step 1Remove the grey lancing device cap from the lancing device by twisting it all the way until the cap comes off. NOTE: Don't pull the cap off - let it twist off naturally.
|
|
Step 2Carefully and steadily apply the lancing device on the tip (pad) of your finger and lightly press the trigger.
|

|
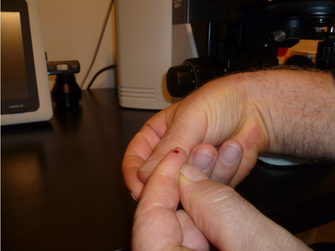
Step 3Before the blood can begin to clot, draw up a bead of blood by squeezing both sides of the puncture a little and pulling down (rather than simply squeezing together). This opens the puncture and therefore allows the blood bead more easily.
|
|
Step 4Wipe away the first bead of blood (this first blood will be damaged).
|
|
Step 5Repeat step 3 and draw another bead of blood (make sure you hold your finger level so the blood does not run down the side of your finger).
Step 6Hold your finger level for approximately 30 seconds.
|

|
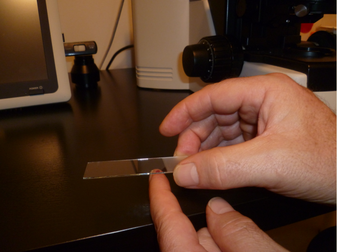
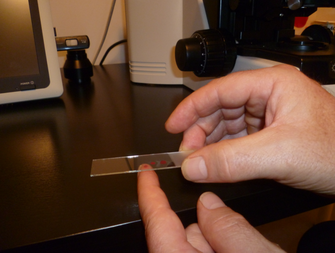
Step 7Pick up the slide from the frosted end and position it just above the bead of blood (making sure the slide is level with the bead of blood to prevent the blood from running or smearing).
|
|
Step 8Gently lower the slide to the bead of blood and just slightly touch the skin.
|

|
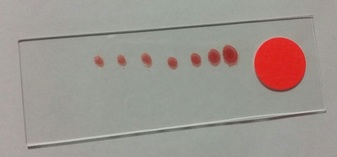
Step 9Repeat step 7 for another 4-5 times so that you have 5-6 round samples in a row on the slide (samples will get progressively smaller as you take each one).
|
|
Step 10In a quick, smooth movement, turn the slide blood side up – lay it down on a tissue somewhere out of the way so it does not get bumped or disturbed while it dries (you can put an upturned small box over the slide if you like as this will keep any dust/particles from settling on the sample).
|
|
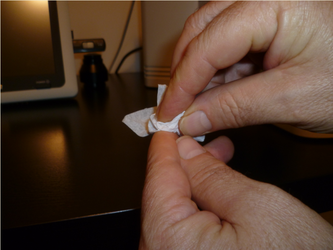
Step 11Let the sample dry for at least 1 hour and then place the slide in the provided 2x slide postage pack. To prevent dust from settling on the sample, place a cover over the slides whilst drying. Make sure you place the slides facing blood side UP to correspond to the TOP side of the slide mailer pack. Be careful to place the slide/s in the grooves provided otherwise the lid will crush the sample.
|
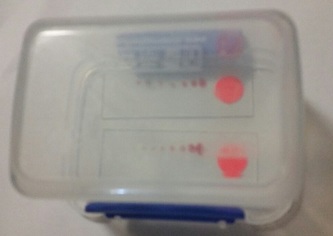
Place cover over slides whilst drying (60 minutes)

Place slides in postal pack prior to posting
|